

So you’ve developed your cool Next.js project and now you are ready to deploy it and feel proud for having it live. First of all, kudos on that!! 🤩 After doing some research, you found that Render.com is a great choice to deploy a Next.js app, but you’re not sure how to do it. Let’s learn how to do it together.
Create your Next.js app
In case you are here and want to start from ground zero then you’ll need to create your app by typing in your terminal
npx create-next-app@latest my-awesome-projectThe Next.js setup will start asking some questions regarding your project’s settings. You may choose whatever you like, I made the following choices:
✔ Would you like to use TypeScript? Yes
✔ Would you like to use ESLint? Yes
✔ Would you like to use Tailwind CSS? No
✔ Would you like to use 'src/' directory? Yes
✔ Would you like to use App Router? Yes
✔ Would you like to customize the default import alias (@/*)? NoConnect your project to GitHub
To deploy on Render.com we will be using a GitHub repository so it will now be a good idea to connect our app with one of our repos.
When creating a repository you are given a couple of ways to connect your local project with a remote one. From the ones mentioned in GitHub, since we have our project already initialized, we will be using the “push existing repository” method:

When you are done with pushing your changes, you will see all your code on the GitHub repository. Great, let’s proceed with Render.com and the deployment steps.
Create a Render.com service
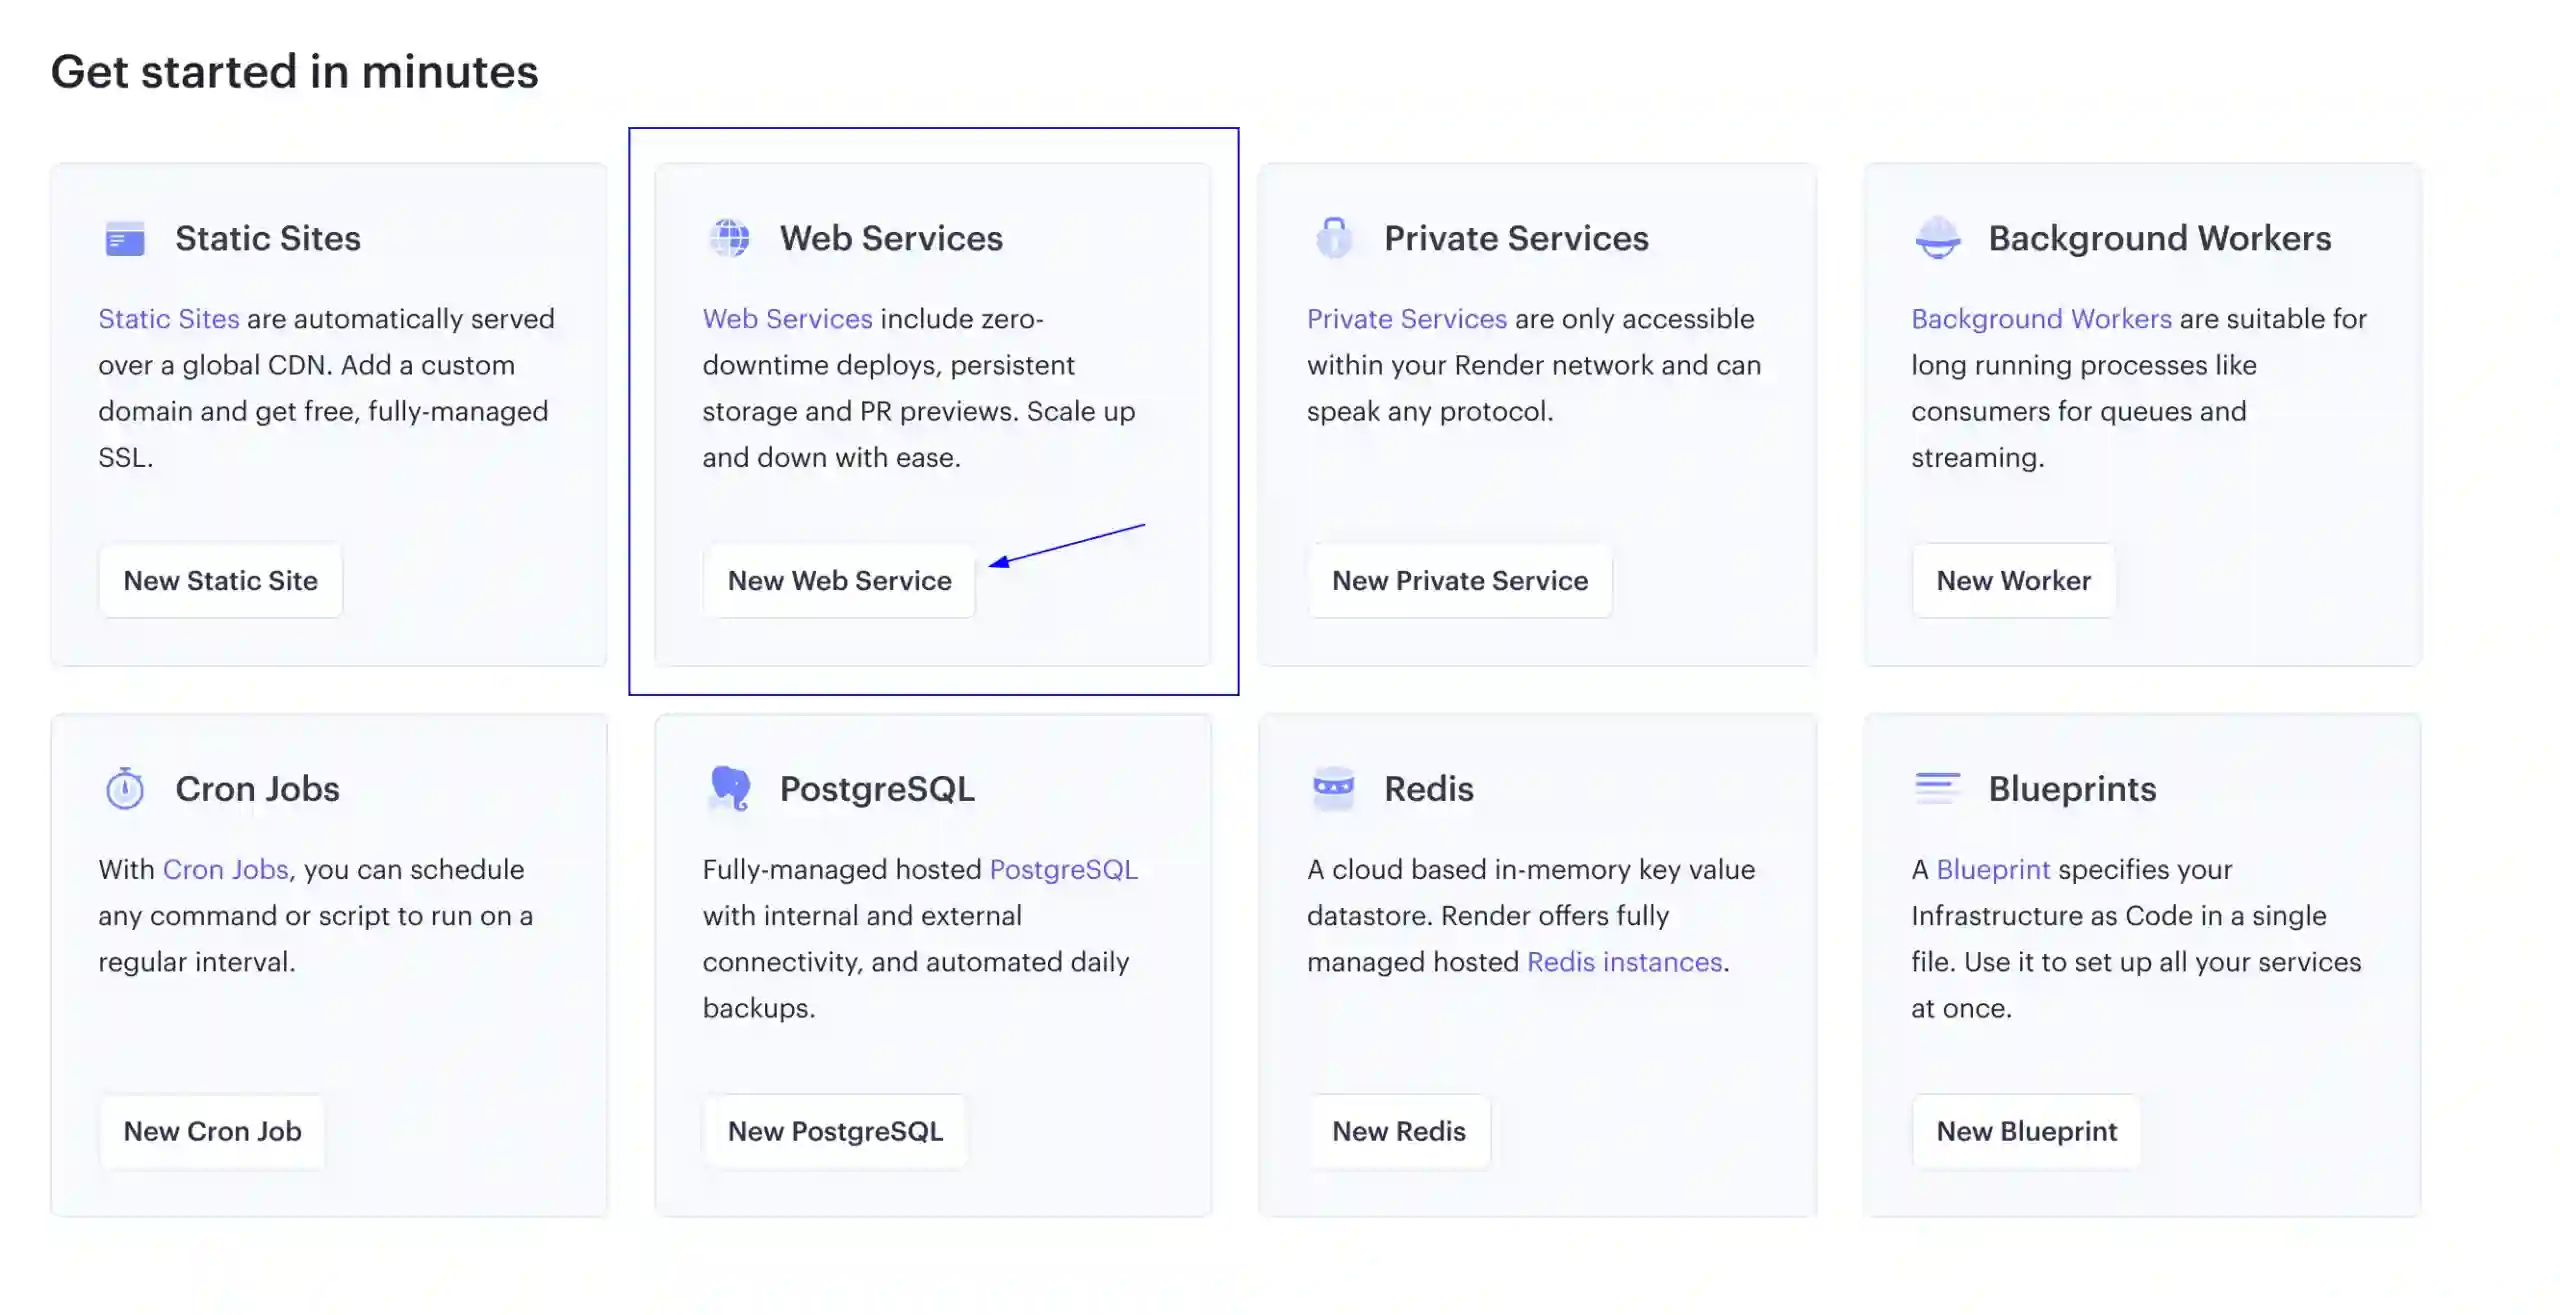
If you haven’t done so yet, make sure to sign up for a new account on Render.com. Next, you’ll need to create a new Web service
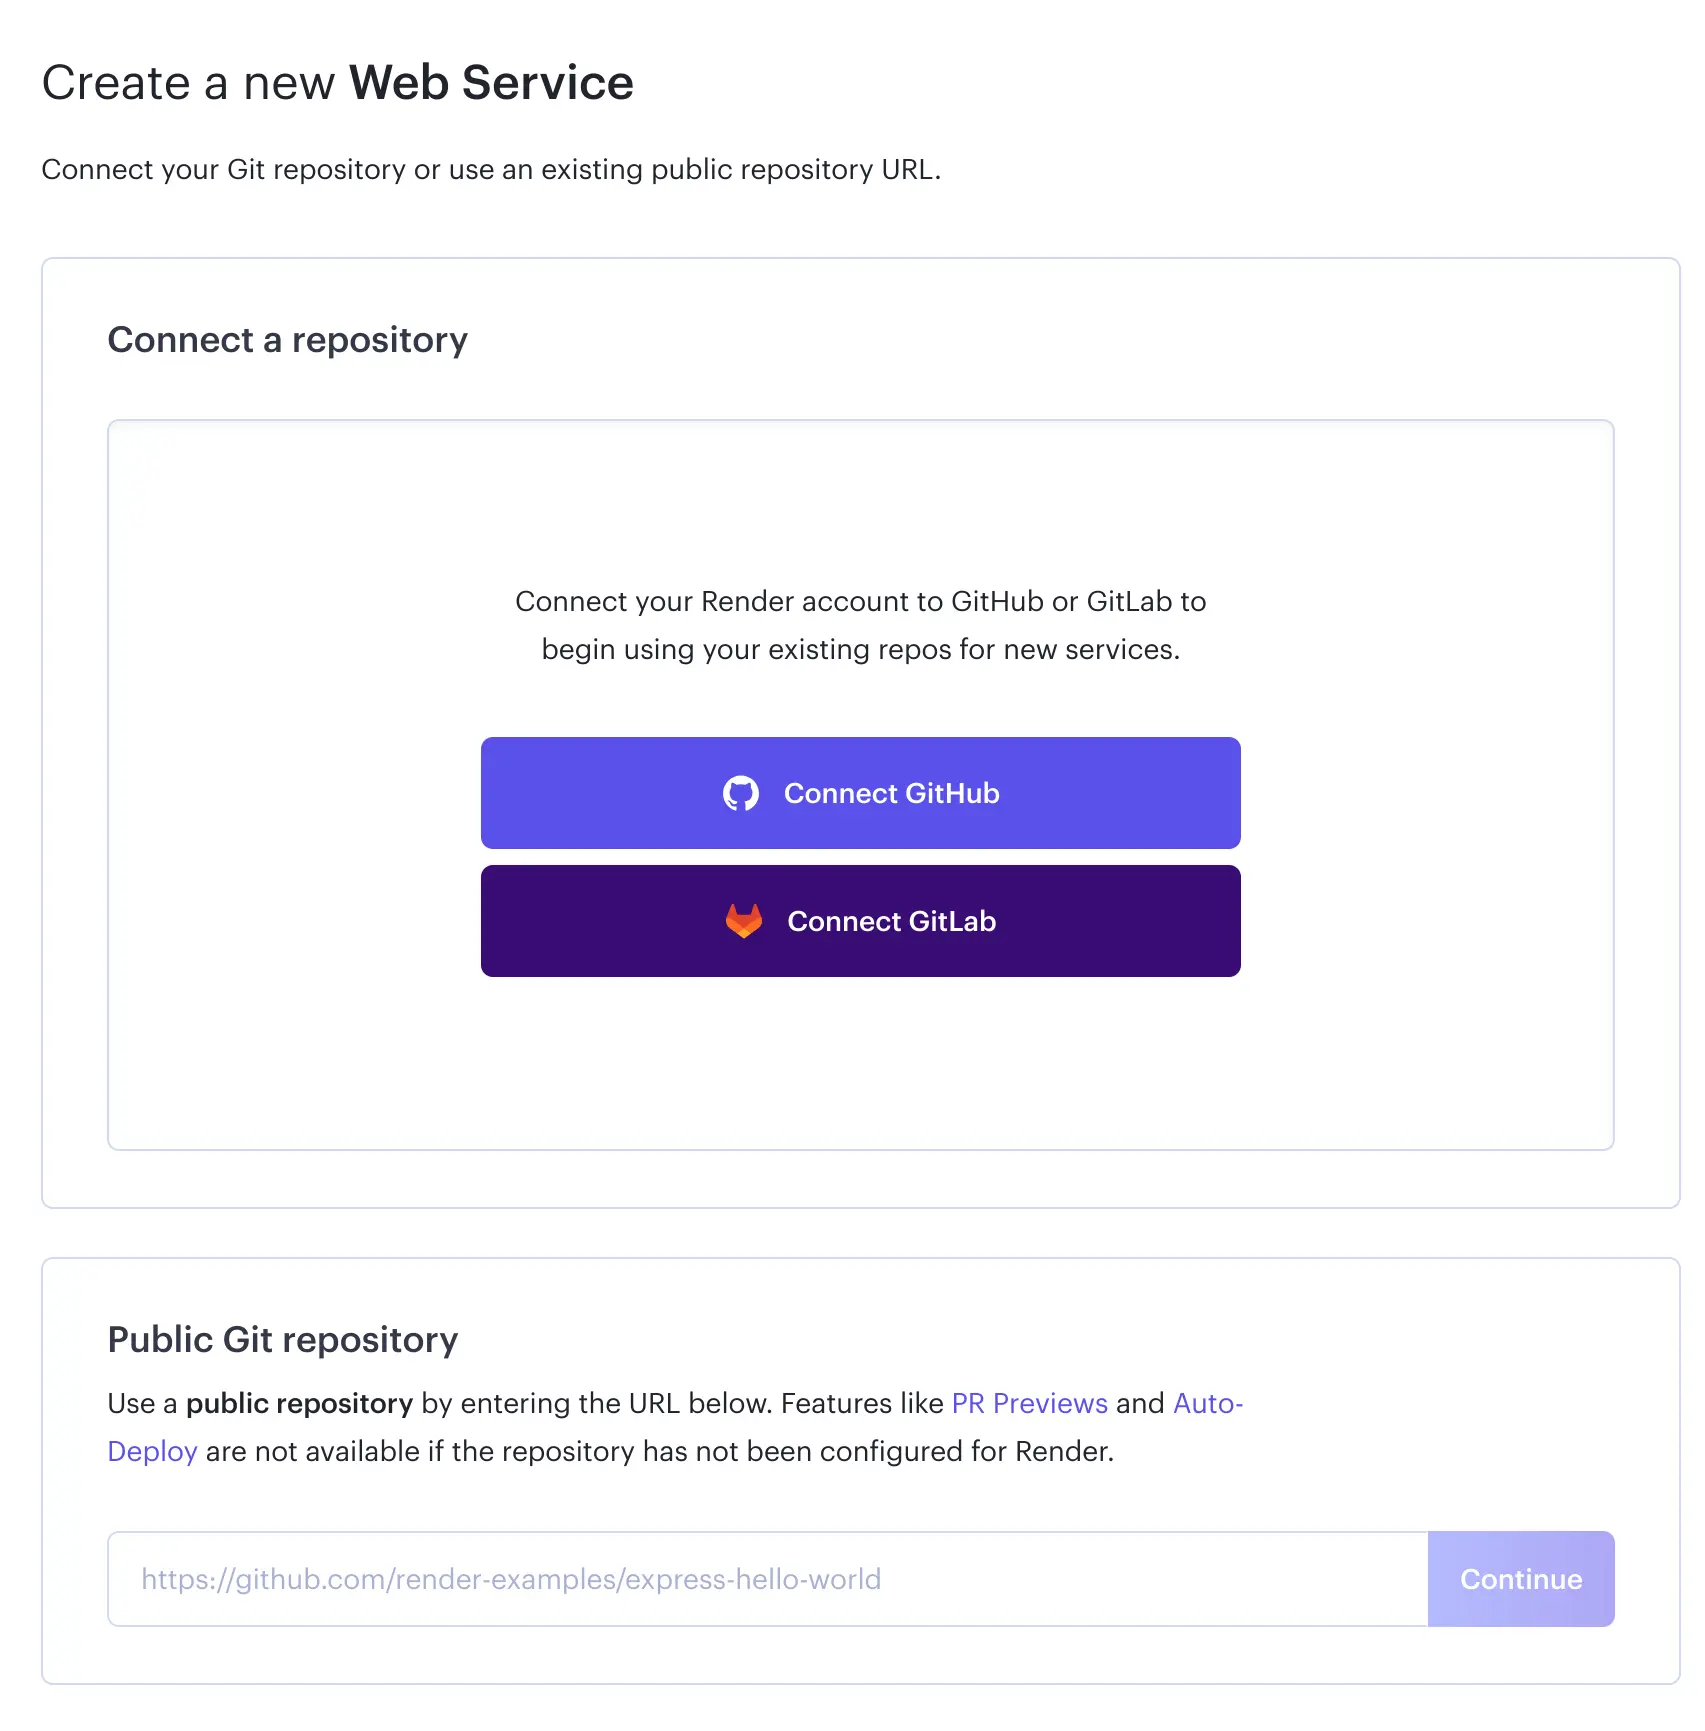
You will be asked to connect your GitHub/GitLab account or add your repo’s URL if it’s a public one. For this post, I’ve selected to connect my GitHub account since, in this case, my GitHub repository is a private one.
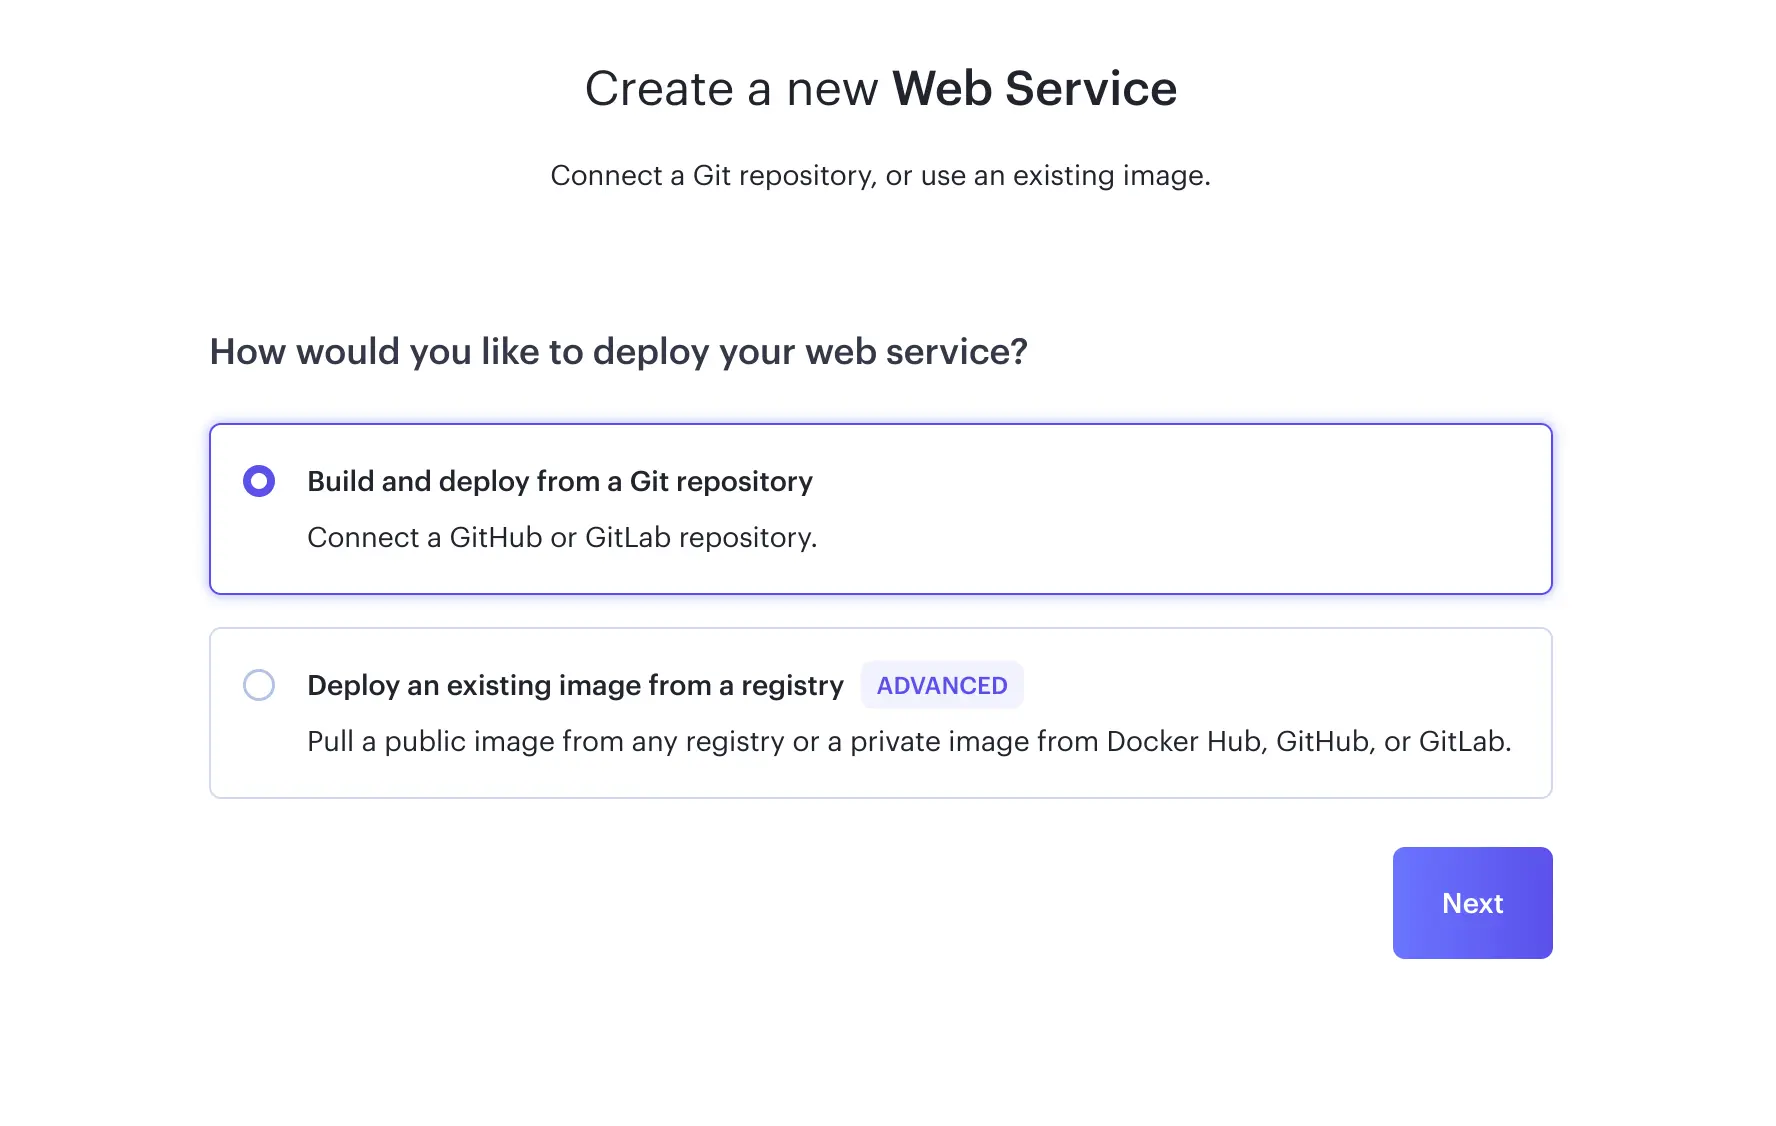
When creating your service, choose to deploy from a GitHub repository
The next step would be to decide whether you’ll give access to all your repositories or just the one used by your project.
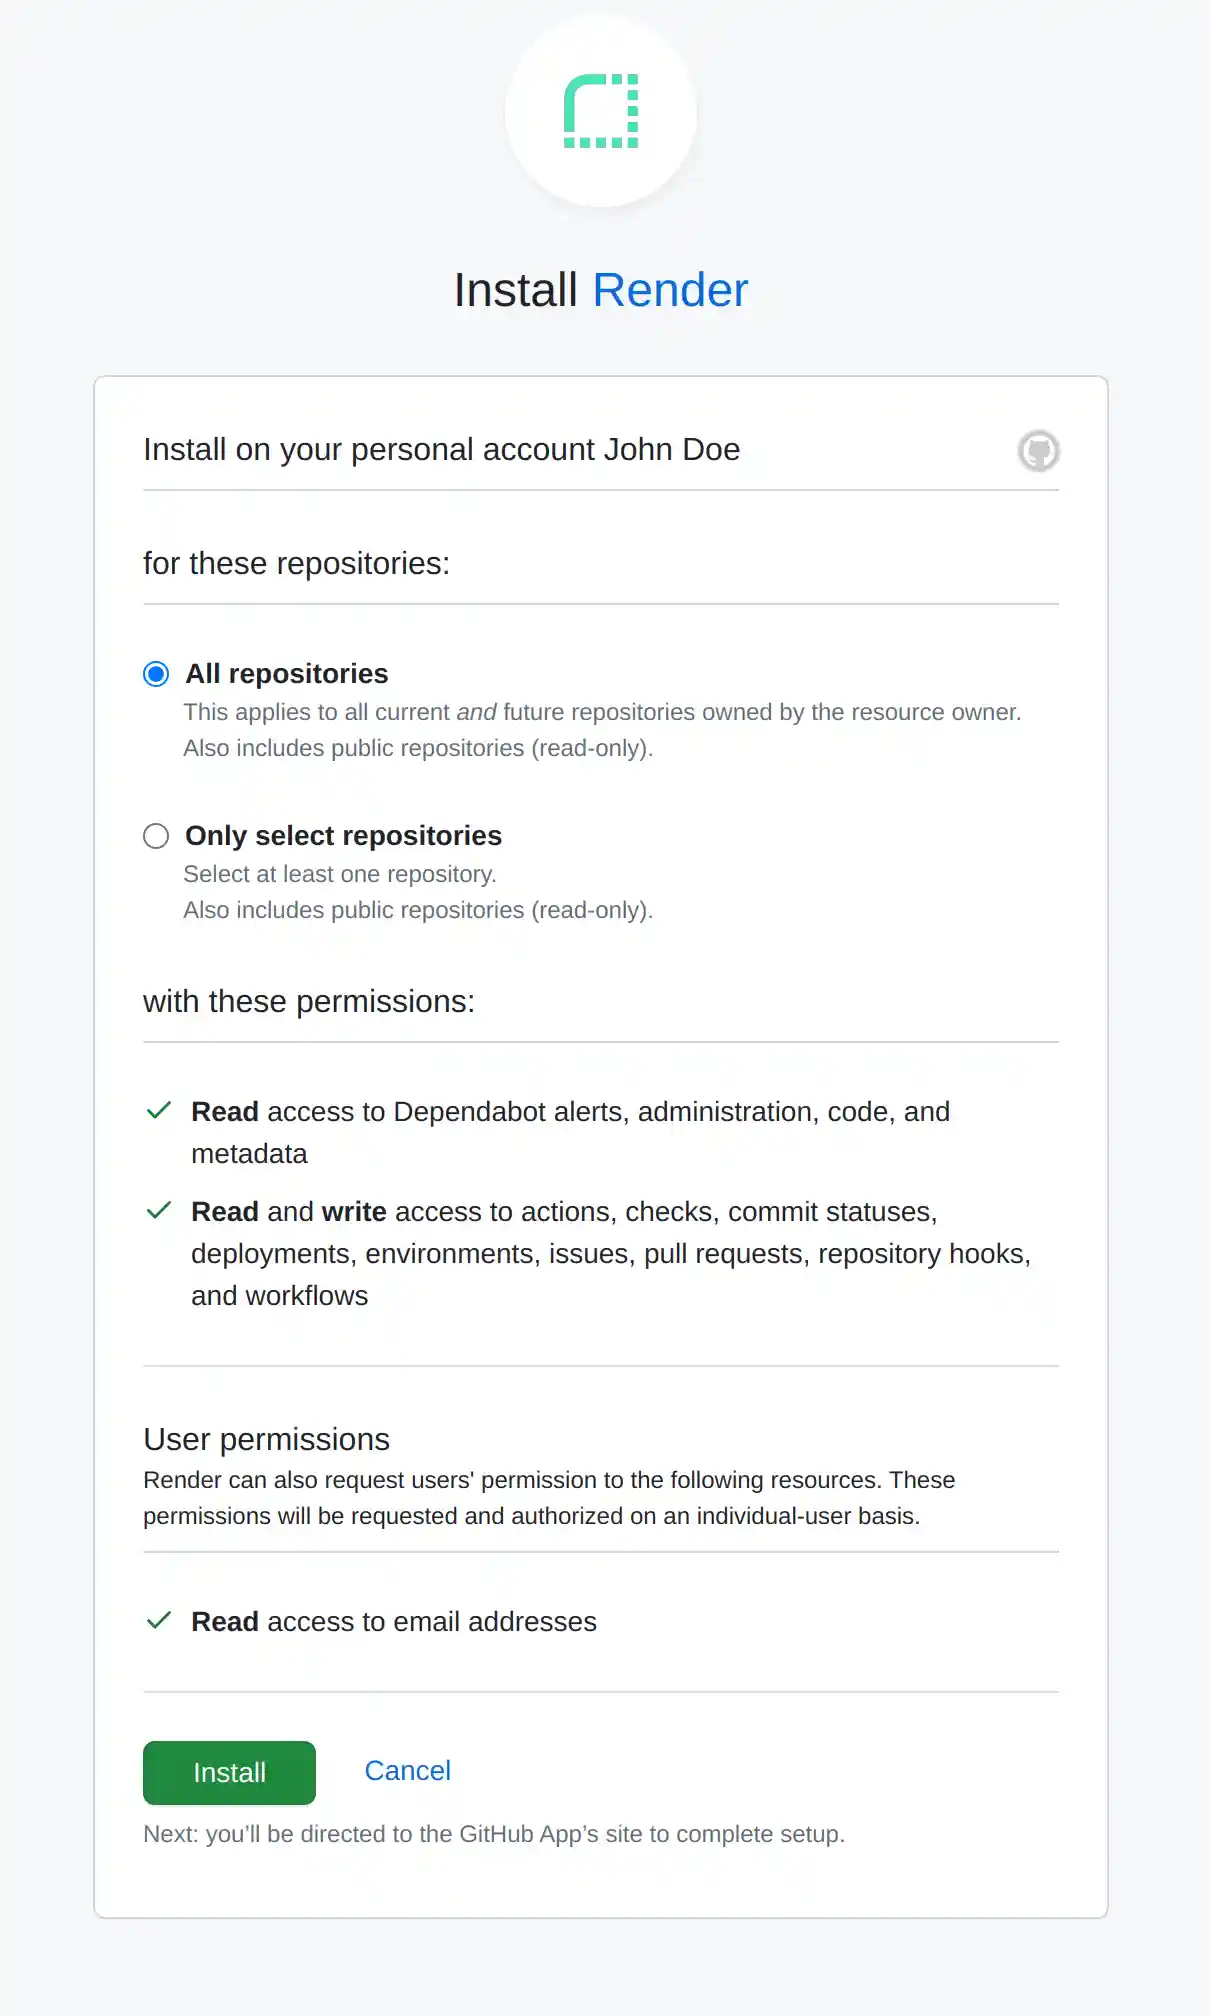
The choice is yours, but I decided to grant access only to the one I’m deploying.
If you followed my choice, the next step is to choose your repository in the “Connect a repository” section. Click “Connect” where it mentions your repository name. Now that it’s connected, let’s continue to adjust our service settings. We’re getting much closer to deploying our awesome Next.js app!
You may also like 🎬

Web Service settings
Before your first deployment starts you will need to choose your deployment settings based on your project characteristics. Because of this, keep in mind that our choices may differ. Let’s see the available options in few details:
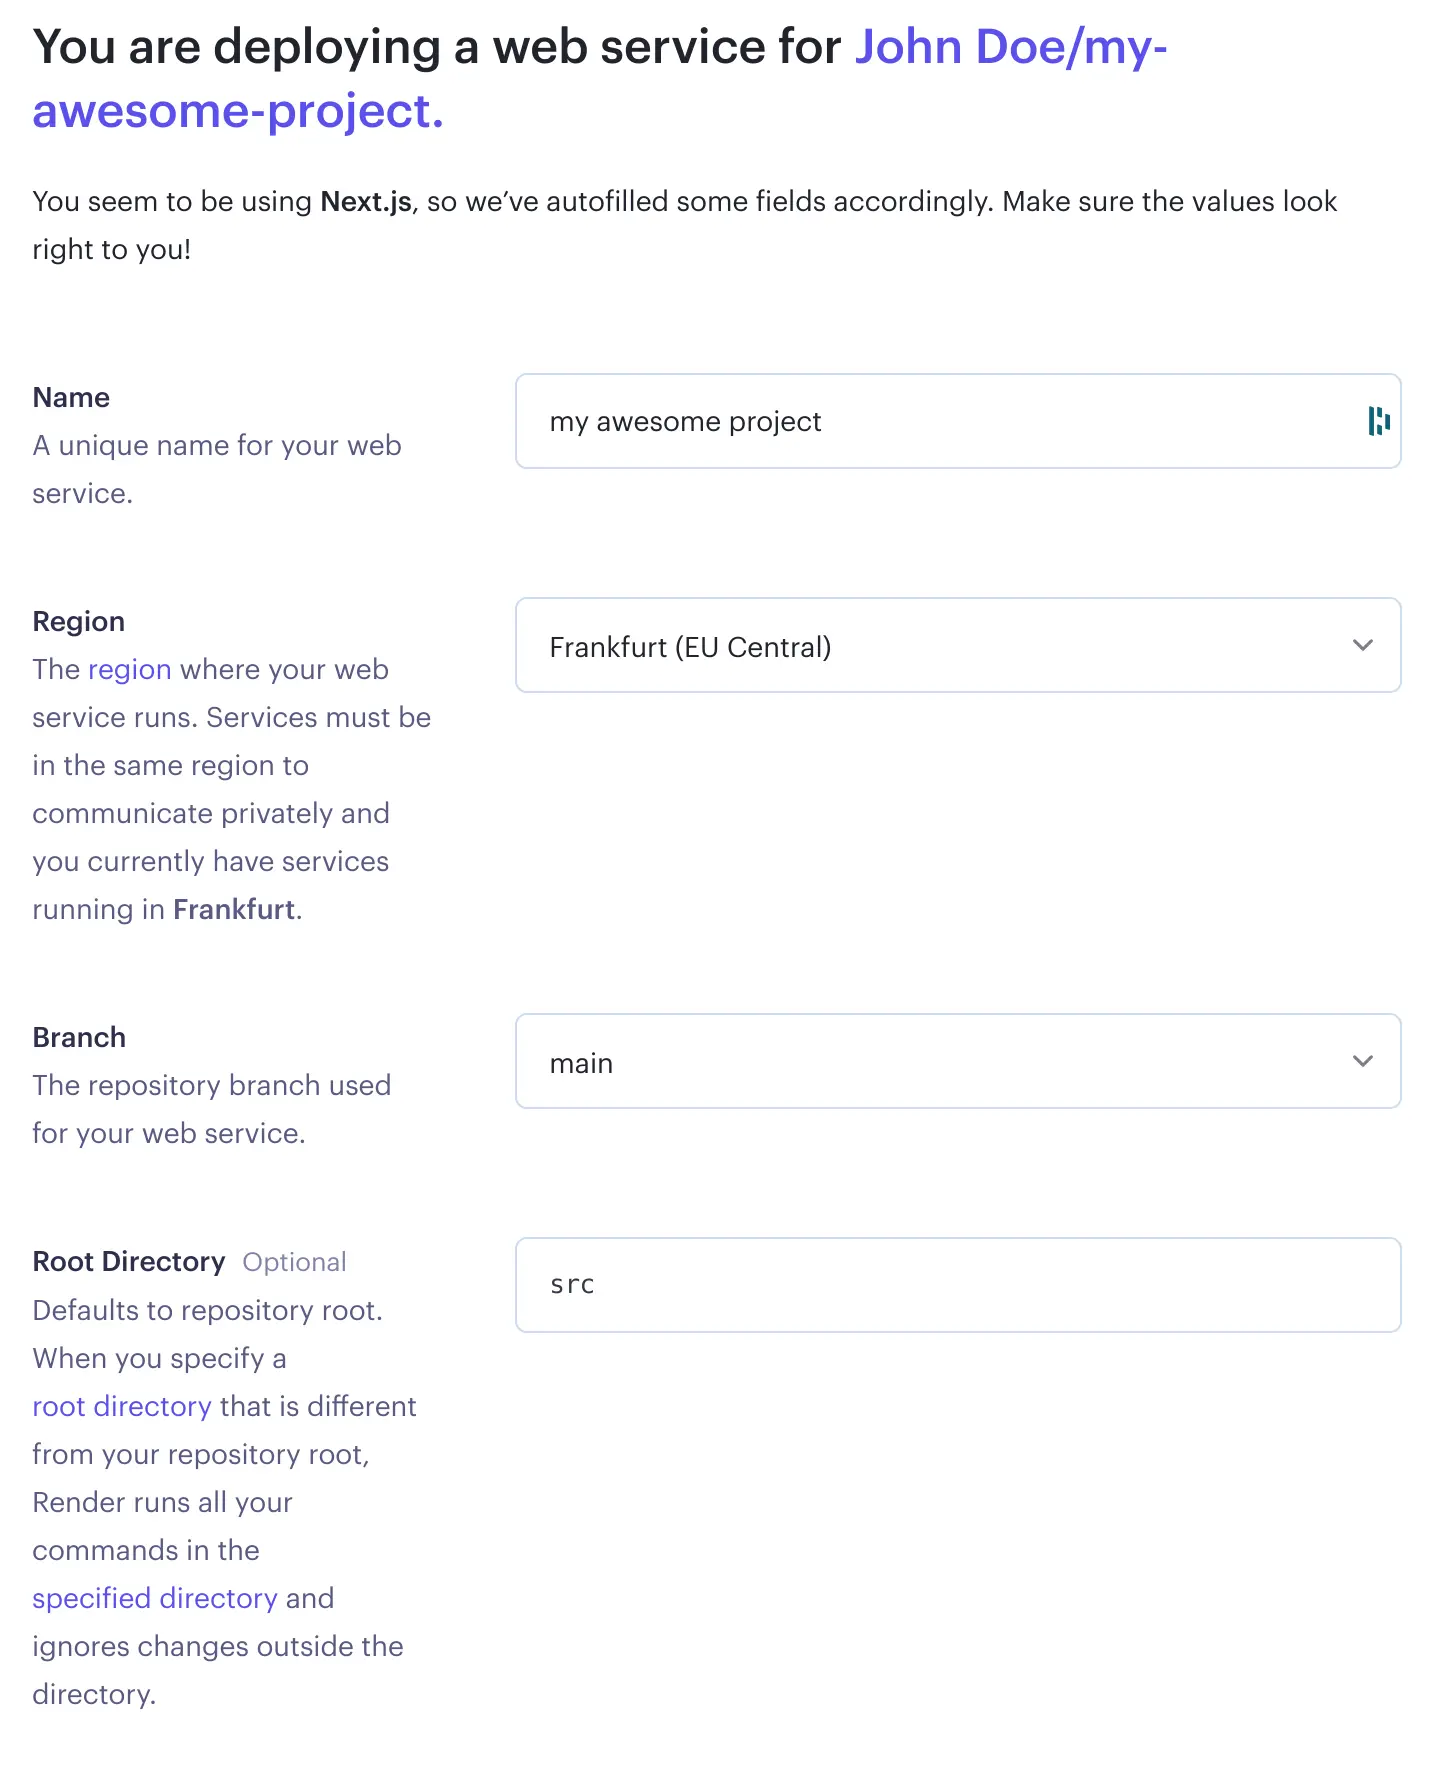
Name
Your project’s name is just a label to differentiate this service from your other Render.com services.
Region
As clearly described, this is your server’s location.
Branch
Your repository’s central branch. GitHub typically uses main as the default branch, but in older projects, you might encounter master being used as well.
Root Directory
This, as mentioned, is optional. If you have built your project with the same setup options as I did, Next.js will have added a src root folder, so you’ll need to mention that here.
Let’s check the rest of the options provided:
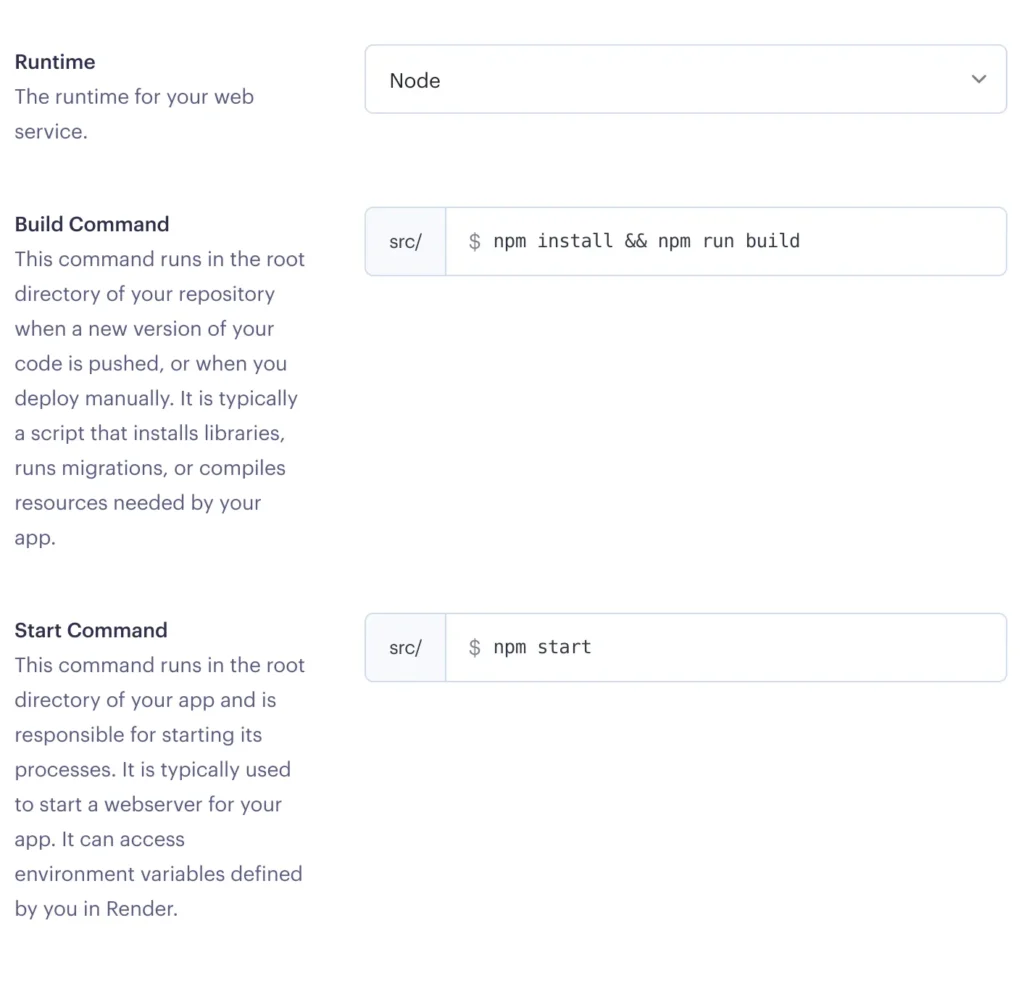
Runtime
The runtime environment your service will be using, I am guessing this will be Node for you too, but of course, change it accordingly if necessary.
Build Command
You might see here the default option yarn; yarn build, if you are using yarn manager then leave it as is, my package manager choice was npm so I had to change it.
Start Command
Same as the build command, the default prefilled option is yarn start, I have added npm start.
Don’t forget to select the Free instance type option so that you’re not charged for this service unless you have other plans in which case, you know better! 😎
Don’t worry if you are not sure about any of these settings, you can change them later.
At the bottom of your screen, hit “Create Web Service” to get this show on the road!
Start deployment
By default when a new Service is created, Render.com will start its deployment process based on the last commit you have pushed to your main branch (or the branch you’ve selected as your main one).
If your initial deployment went smoothly, you should see something like this:
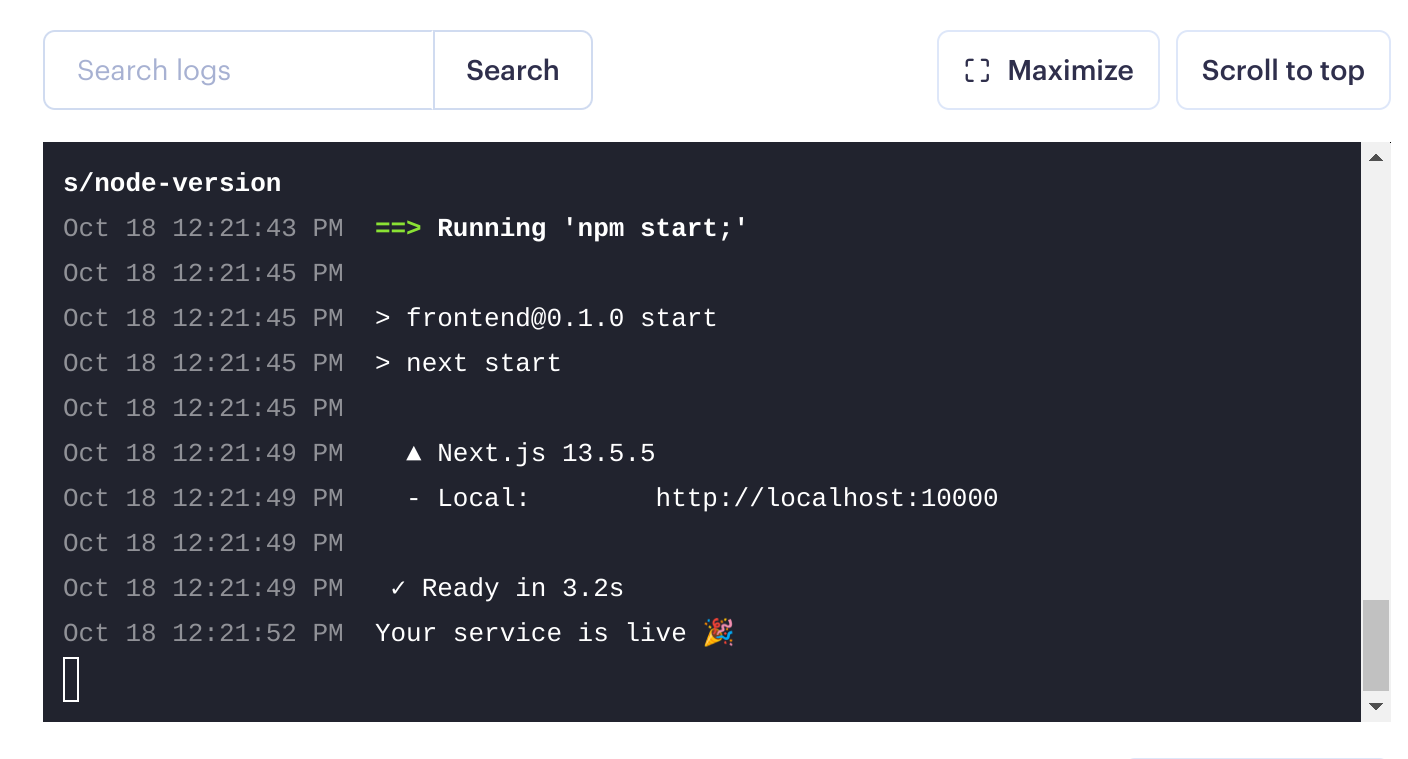
In that case… congratulations!! 🥳🥳 To see your deployed app, underneath your service’s name, you’ll see a link, click that and you’ll get redirected to your app’s URL.

However, if you weren’t as lucky as I was 😕, you might be greeted by a not-so-pleasant red message saying “Build failed“. This being my first time working with deployment on a platform like Render.com, it was quite challenging to figure out why a straightforward Next.js project, without any complex configurations, failed to deploy.
So, if you’ve faced a similar situation,I’ve shared my findings on why my Render.com deployment failed, and I sincerely hope they come in handy and ease your frustrations.
Adding extra repositories to Render.com
If you initially connected only one repository to Render.com and you’re looking to create an additional Web Service, you’ll notice that you have only that repository as the sole available option for connecting your new service.
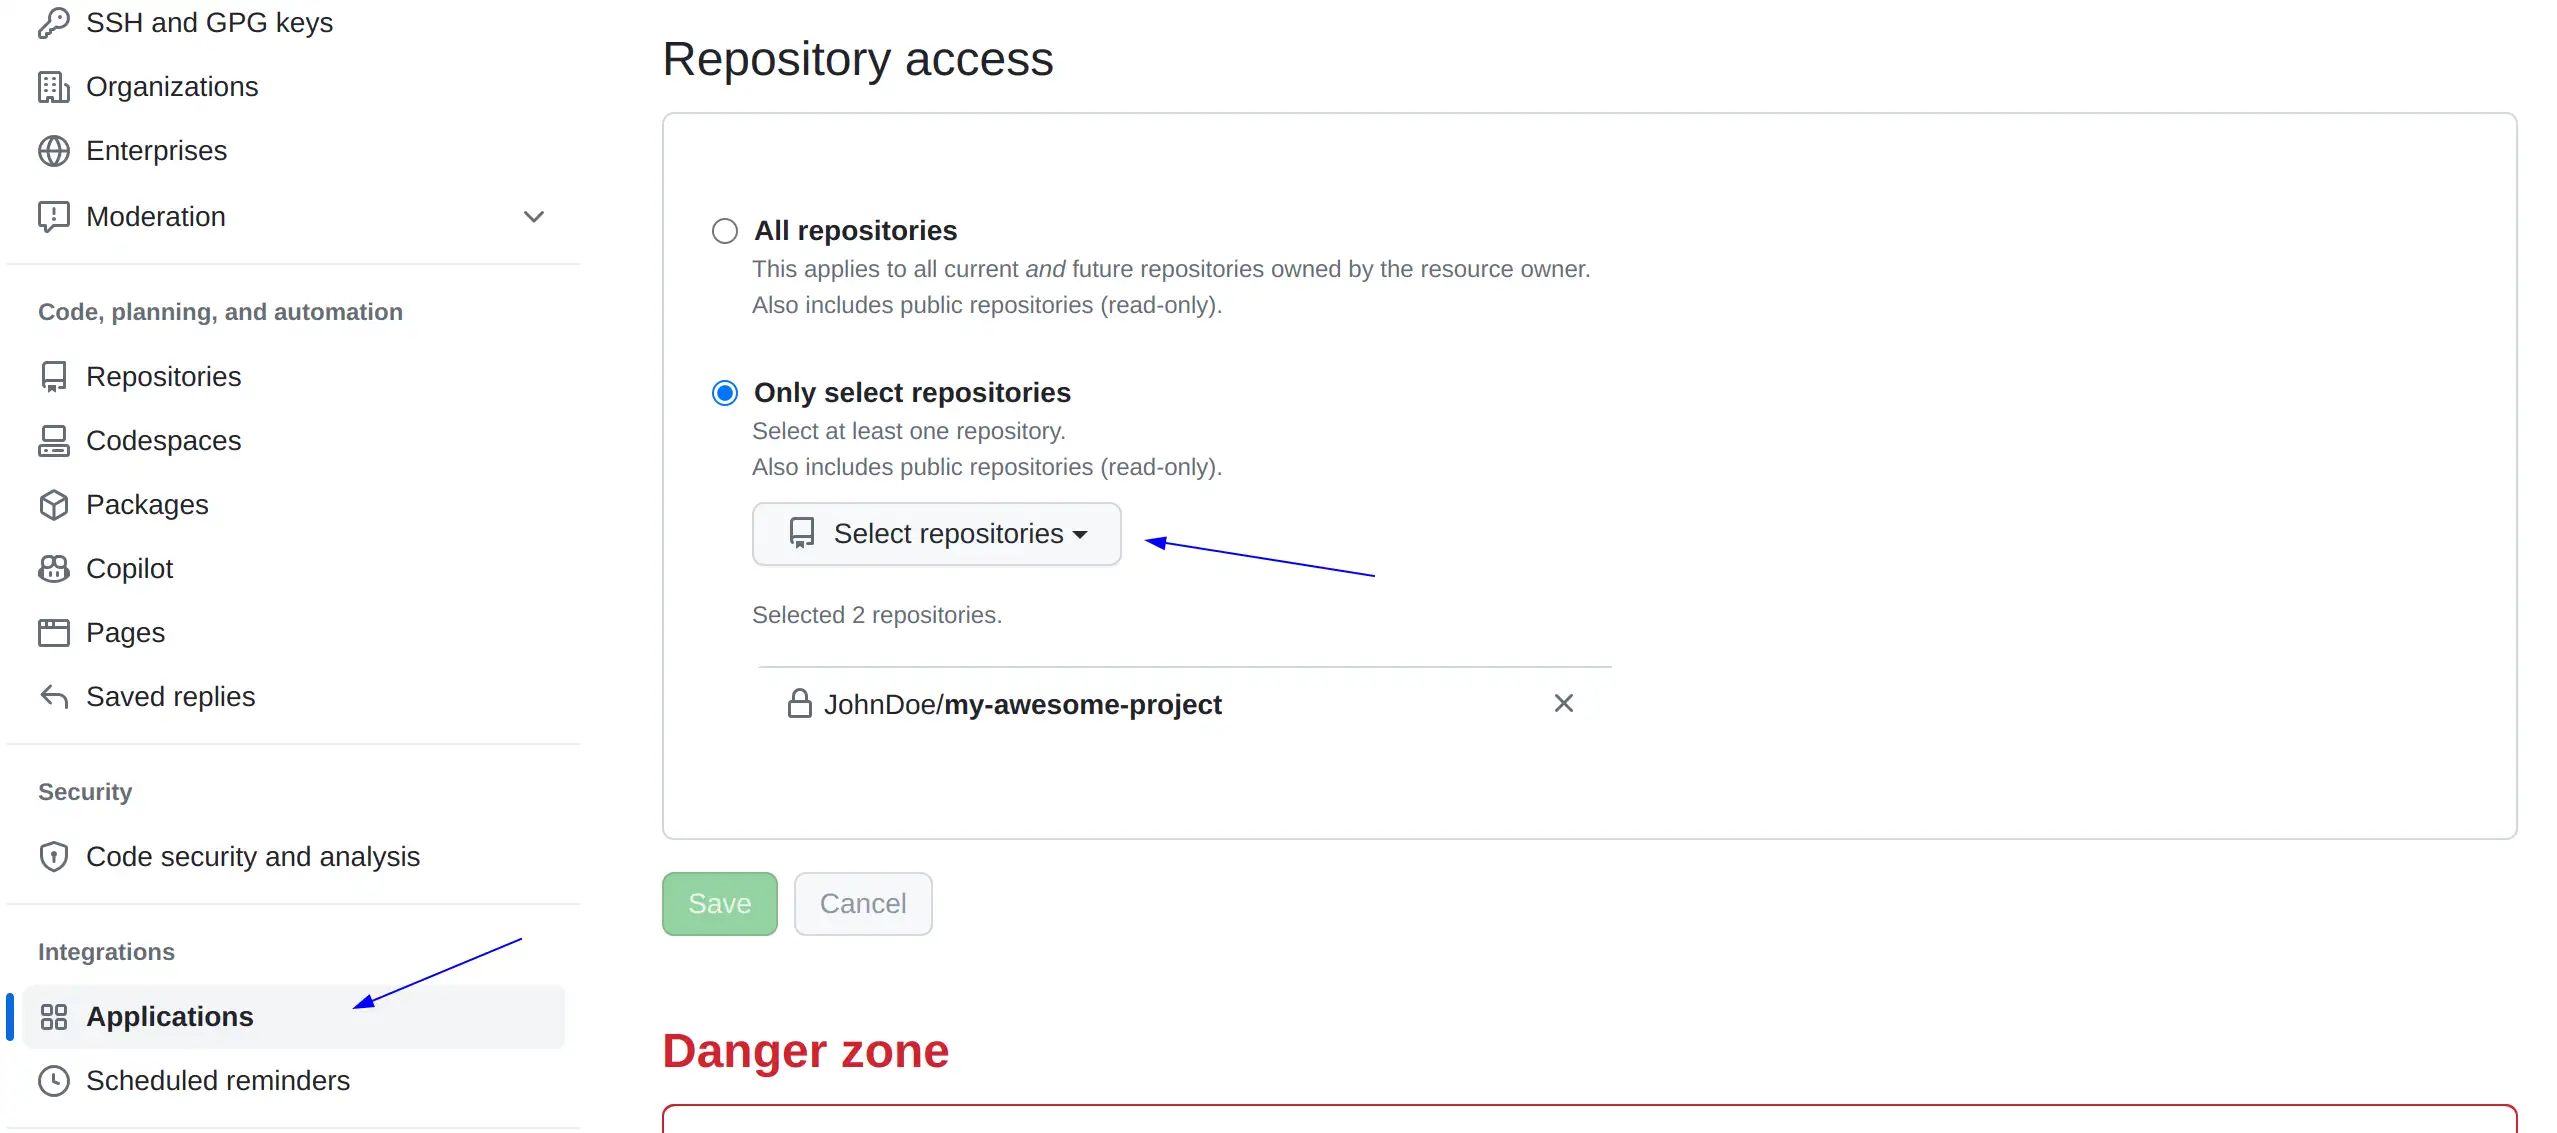
To fix that, you don’t have to disconnect your GitHub account and reconnect it to Render. You need to visit your GitHub account, go to Settings -> Applications, and click Configure in your Render application.
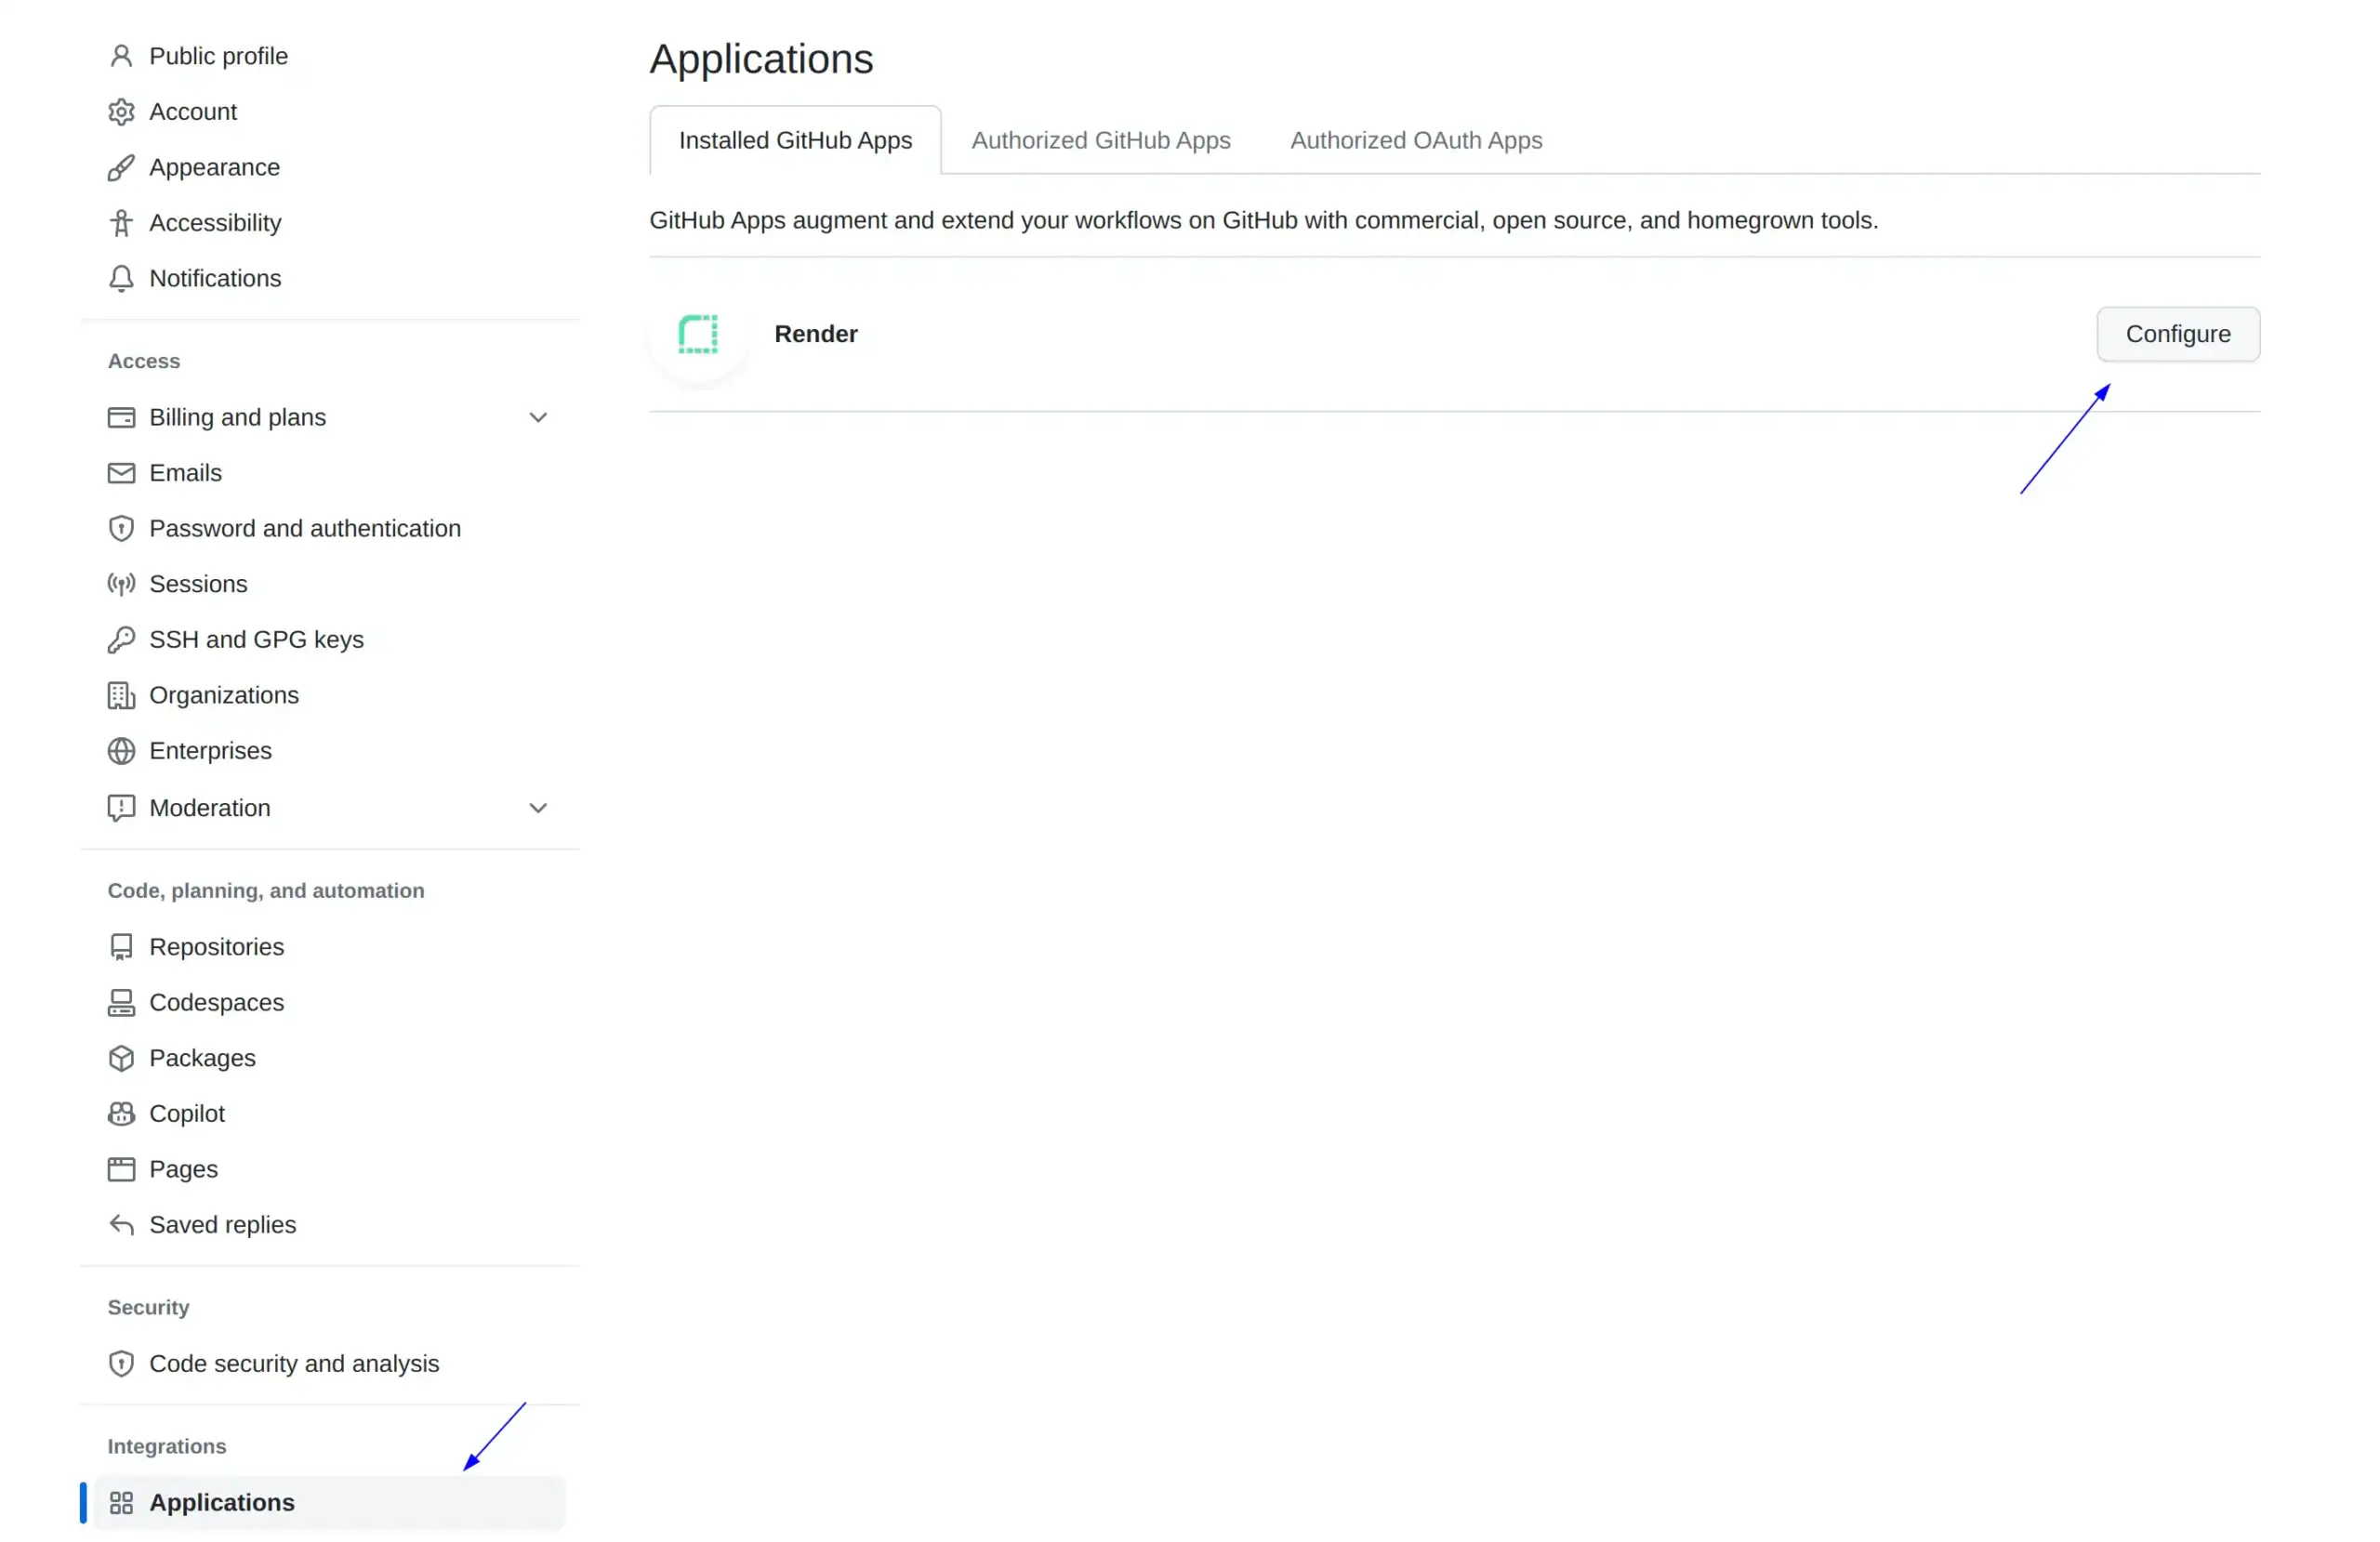
On the middle-bottom of your page, you’ll see the “Only select repositories” option, click on “Select repositories“, select the repository you would like to add for Render.com to use, and click “Save“.
Go back to Render.com and you’ll be able to use this repo now.
Awesomeness!! 🥳
