

My new Next.js app got a deployment fail on Render.com, and if you faced the same issue, you understand my frustration. I mean, why did a new Next.js project failed to deploy? I did nothing exotic, all I did was type npx create-next-app@latest frontend and follow all the basic steps needed to deploy to Render.com.
Why did the deployment fail?
Long story short, you deployed an app and didn’t define the node version your deployment service (Render) will use.
Even though you’ve built your project successfully on your local environment, that doesn’t mean Render.com will be able to do the same, since it might be using different software versions.
Now hang on a minute…you are correct to assume that since you’ve specified all necessary versions through your package.json file you are ready, and Render.com should follow these specifications. However, if you find yourself here, it’s likely because something is still missing or not properly defined. 😇
Okay, what wasn’t defined then? If you are experiencing the exact same issue as I did, your node version wasn’t defined in your package.json file.
Check your local node version by typing
node -vMy local node version was 18.18.2.
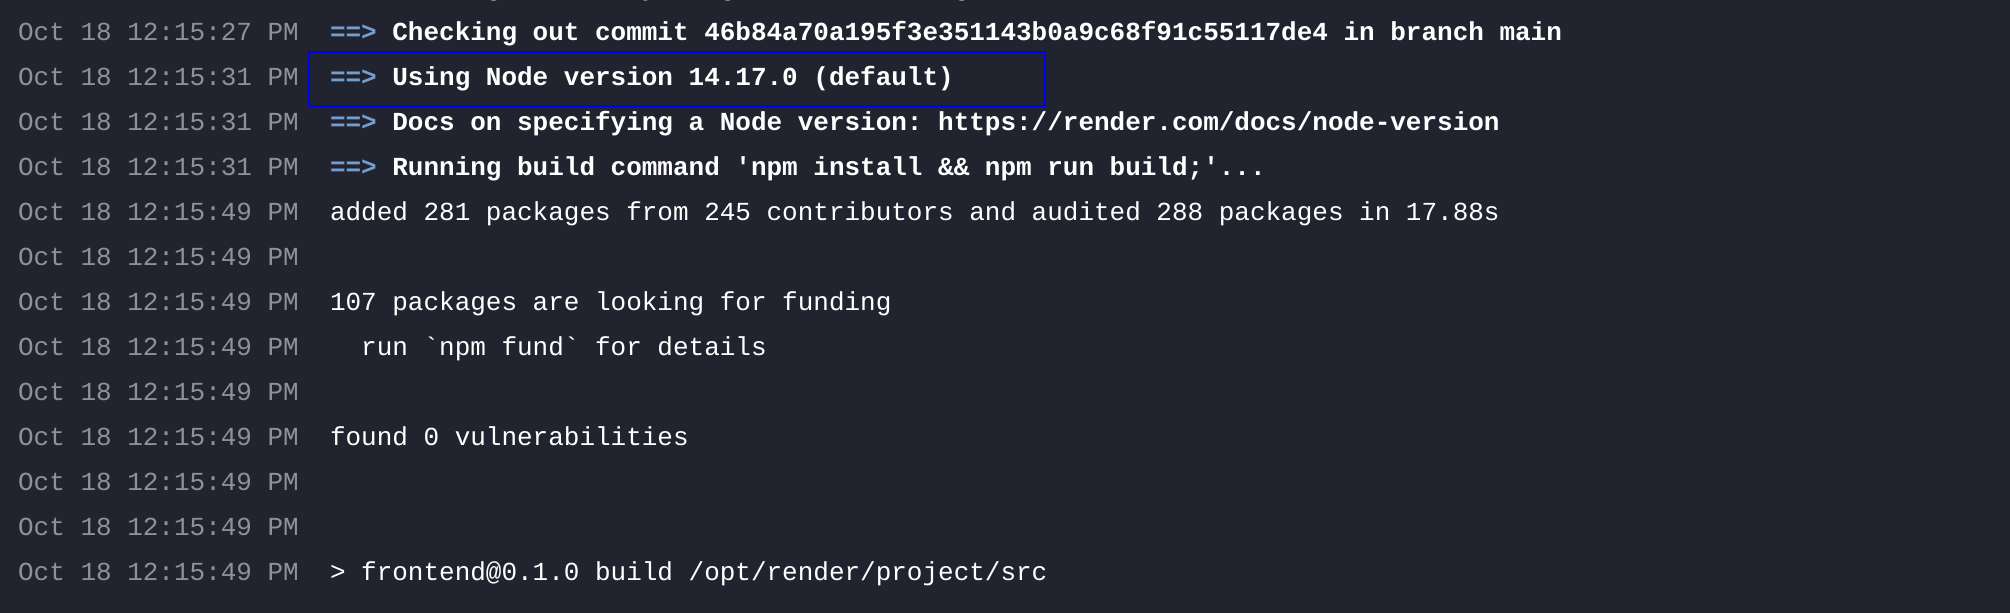
The problem is that Render.com, by default uses (when this post was written) node version 14.17.0. You get where this is going right? We need to ask Render.com to use our version of node so that we have consistency between what’s happening in our local environment and on our live one.
To verify this is the issue with your deployment, you can check your last deployment logs. Somewhere in the beginning you will see Render mentioning the node version it uses:
You may also like 🎬

Deploying successfully
To resolve this problem, we just need to follow a few simple steps. Don’t be afraid; in just a couple of minutes, you’ll be so proud of your deployed app!
The first step is to add in package.json the npm engine property and state our node’s version
  "scripts": {
    "dev": "next dev",
    "build": "next build",
    "start": "next start",
    "lint": "next lint"
  },
  "engines": {
    "node": "18.18.2"
},Although I haven’t read this elsewhere (so far) since we modified package.json, I like to run npm install to also generate the updated package-lock.json. This way I can include both package files in my commit.
We’ll also need two files inside our source folder
18.18.218.18.2In case you have selected to add an src folder during your Next.js app initialization, you need to add these 2 new files (.nvrmc and .node_version) inside the src folder.
The final step is to include a new environment variable on Render.com. Simply go to the Environment section of your service, and there you can add it by using NODE_VERSION as the key and setting its value to 18.18.2.
We are ready now! Commit and push your applied changes to the remote GitHub repo and a new deployment will be triggered automatically. Voila!
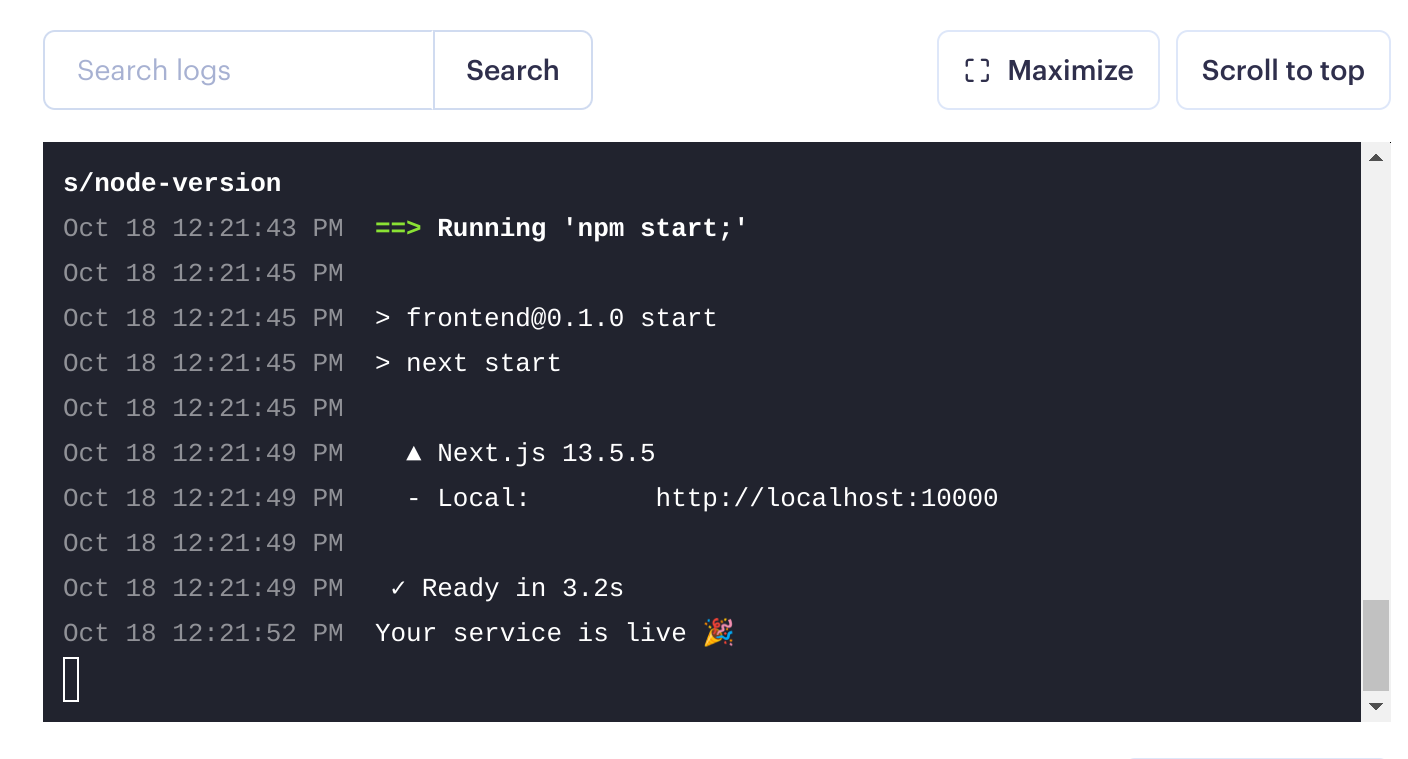
So awesome to see successful deployments!! 😎
